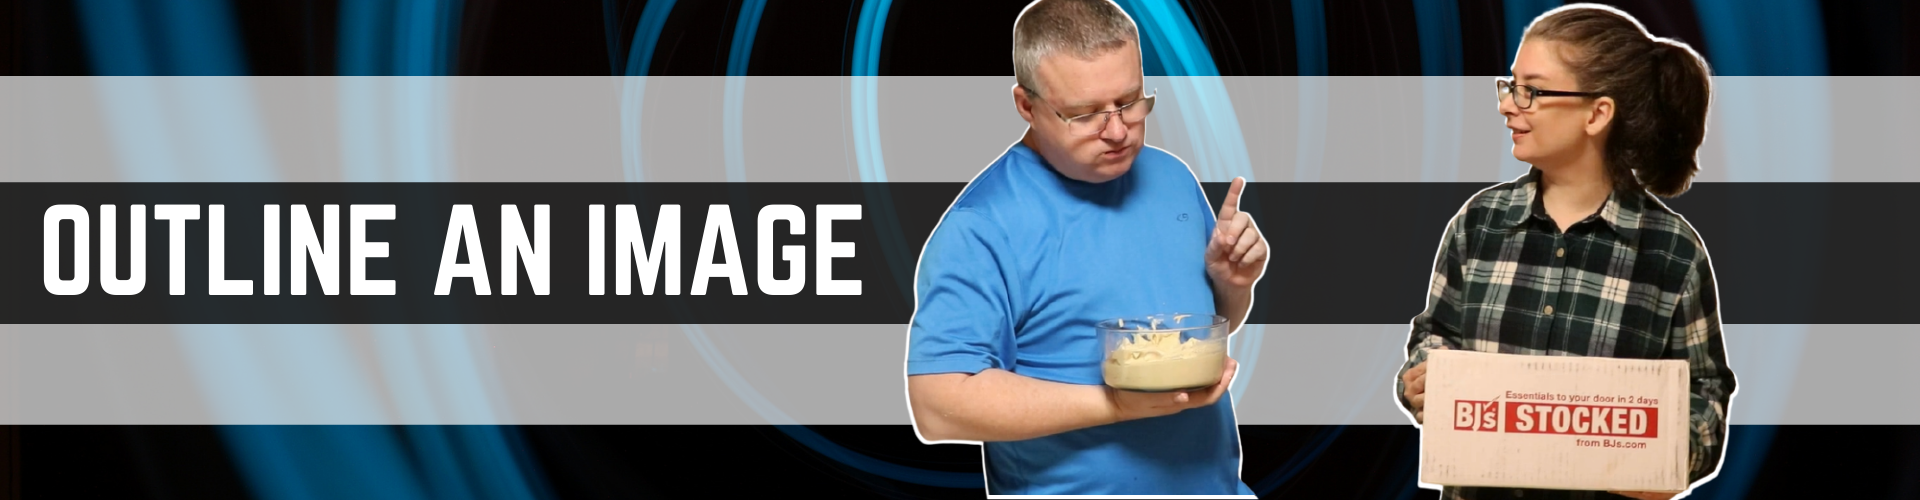
 It all started with a small youtube group asking Mrs. Like how she uses Canva. One video was created and that lead into a playlist of several Canva tutorials. This was one of the tutorials from the playlist and it includes how to create an outline for an image. WHAT TO EXPECT
BEHIND THE SCENES We use several FREE programs to create this Canva Tutorial. We use OBS Studio to record the screen on Canva. We use the free version of Canva (as of 1/7/2021). We use Open Shot Editor to put the videos together. The only thing that cost money to create this video was the microphone. We use a Maono A425 Plus Microphone . To see more visit the tab under technology| https://likeitornotyt.weebly.com/technology/using-canva-to-outline-images-for-youtube
0 Comments
This video tells the reason why I grind my own flour. I don't always grind my own flour, but when I do I share why on the internet. I hadn't quite gotten the hand of using Canva for transition cards yet so most of these are made with Open Shot Editing program instead of through Canva. If I were to remake this same video today, it would look vastly different and include MUSIC. I wasn't sure how to do more than a layer or two at this point of editing. However, I want to share just how far I've come in editing with this Video of the Week. I might see if I can find the original footage to see if I can remake this video one day. I bet him he couldn't make a 5 minute video then he ran over 5 minutes talking about the bet! This is a video where Mr. Like took a rotten log from the woods and turned it into a something? He was just trying to get used to his Rikon Lathe I think and figure stuff out. This was before we had figured out that we could use Canva for our cards. It was also before we knew about Audacity. This was a slide show of this project instead of a video of the actual project. 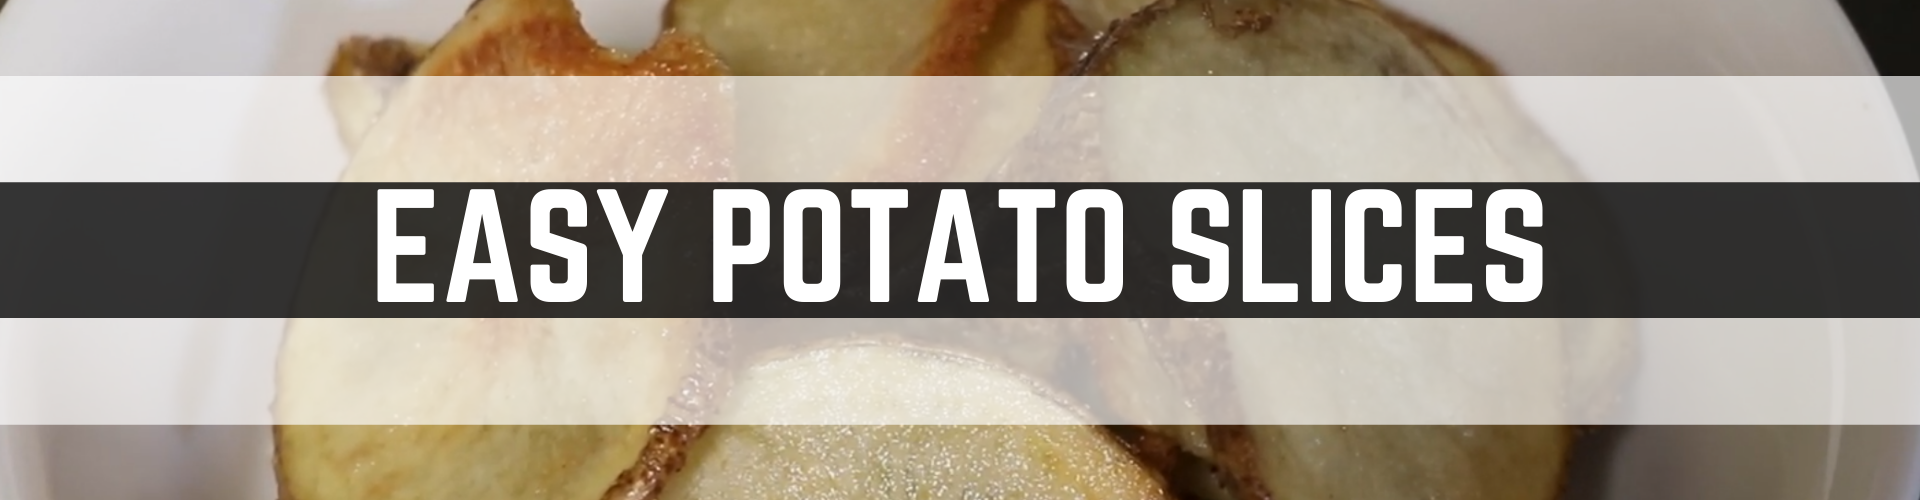 One of our favorite things to make are Potato Slices. Our Farberware Air Fryer Toaster Oven makes it simple. We purchased it at Wal-Mart a few years ago. We show our favorite way to make them, but the best part is it's super customizable. We know you will cringe when you see Mrs. Like cut the potatoes. There were several things going against her that day [see below for more info]. WHAT TO EXPECT |
INGREDIENTS & TOOLS | RECIPE
If you decide to try this out, let us know what you think. What did you put on your potato slices? OTHER INFORMATION| Mrs. Like has pretty bad Lyme arthritis and it was acting up pretty badly on the day this was filmed. She knows this isn't the best way to handle a knife, but her fingers wouldn't cooperate. She loves those little cutting boards, but they also aren't very cutting friendly and move around on the countertop. She only uses them now if other options aren't clean. We aren't sure that the toaster oven is available anymore, but it has been a wonderful little oven. It was a Wal-Mart special that we know was still available in January 2020, but the website appears to be out of stock at this time. We use it more than we use our oven (except the pizza obviously). BEHIND THE SCENES | This video was published on June 6, 2019 on our YouTube Channel. We had yet to figure out that we could use Canva anything for our channel so we used very basic title cards from Open Shot and our captions were also Open Shot options as well. Another thing we hadn't quite figured out was changing the volume on music in Open Shot. It's fun to see the difference in videos from the middle of 2019 to now. Mrs. Like didn't want to be in front of the camera, but was making this for a snack and decided to film. 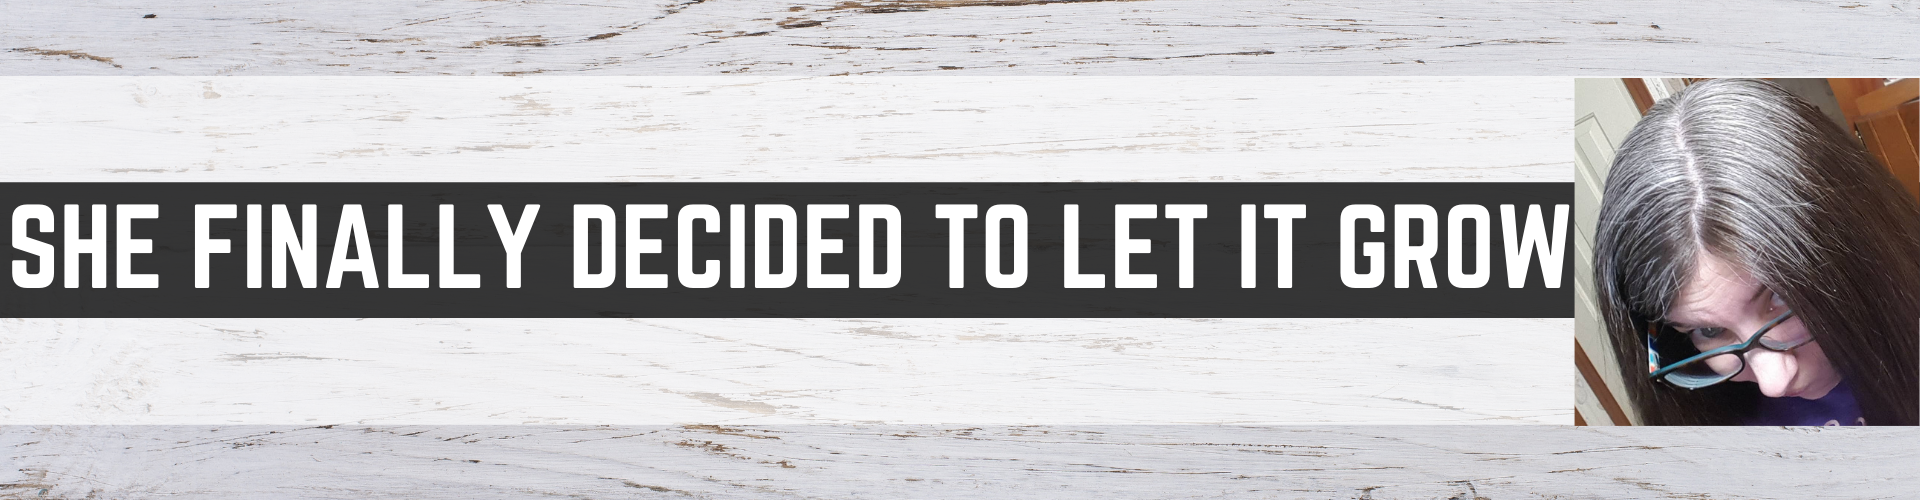 This is the 4th part in a multi-part video that Mrs. Like did on her hair. Like It Or Not is not a beauty channel, but it is a bit about life and one big change that's happening in 2020 is that Mrs. Like decided to grow out her grey. It was partially brought on by the pandemic and partly brought on just the exhaustion of getting her hair colored every 8 weeks (probably could have gone every 4 to be honest, but hey money). WHAT TO EXPECT |
More information about the decision to grow grey by Mrs. Like | My last hair appointment was at the end of January (Jan. 29, 2020 to be exact). I briefly discussed considering in the future just letting my hair grow grey silver white hair with my hair stylist. She suggested something I could to do make that transition less harsh, but really for me when the time came around to it I knew that I would try to tough it out and grow grey naturally.
The main reason for that is financial, but the other reason is that I don't handle change well so going from a pretty natural color to all over highlight grey would have been too much for my emotional health. In January, I did NOT decide I was going grey for life. In fact, I scheduled an appointment in March to get my hair dyed again. Then, the shut down orders began falling down the pikes. That whole week things were shutting down left and right. On the day I was scheduled to get my hair dyed was the last day salons were allowed to be open. I decided to give my spot away to someone else that might need it more and just wait the pandemic out. I had no idea how long that wait would be. The longer the pandemic has gone on the more I began to think that maybe this is the push I need that I just need to grow the gray out. There were so many supportive comments from close friends and I found an Instagram community of silver sisters experiencing the same thing. I decided maybe the time wasn't in the future, but the time was now. I am going to be naturally grey. It's time. On the day I filmed this video, there was no going back. I mean technically I could go back to hair dye, but I've already had over 5 months of growth who wants to relive that first 5 months of growth over again? The original plan was to update it every month, but that just didn't happen. However, you can see the gradual changes with the videos put out. This video obviously wasn't the beginning of the journey. The trouble was that I didn't know the beginning was in fact the beginning when I began it. That might not even make sense. We all have to start somewhere. I just happened to start 5 months in during a pandemic. It has now been almost 9 months since my final hair color. I've had one hair cut in that time. I will be getting another hair cut in November. I decided it was best to go in 4 month increments for hair cuts. That way it could grow a lot and then I could get 2 or 3 inches cut off. Pictures don't do the grey justice, but here are a couple of before & after my hair cut. One is taken on July 21st and the other July 23rd.
BEHIND THE SCENES | This video was filmed on July 2nd and not published onto our channel until July 24th. It was originally supposed to be a hair tutorial on how to french braid hair, but that kinda of flopped as it didn't look very good. It was also really long so broke it up into parts and this was one of my favorite parts of the series all about hair because it was the first time I said out loud that I was doing this. You can find this and more on our channel https://www.youtube.com/likeitornot 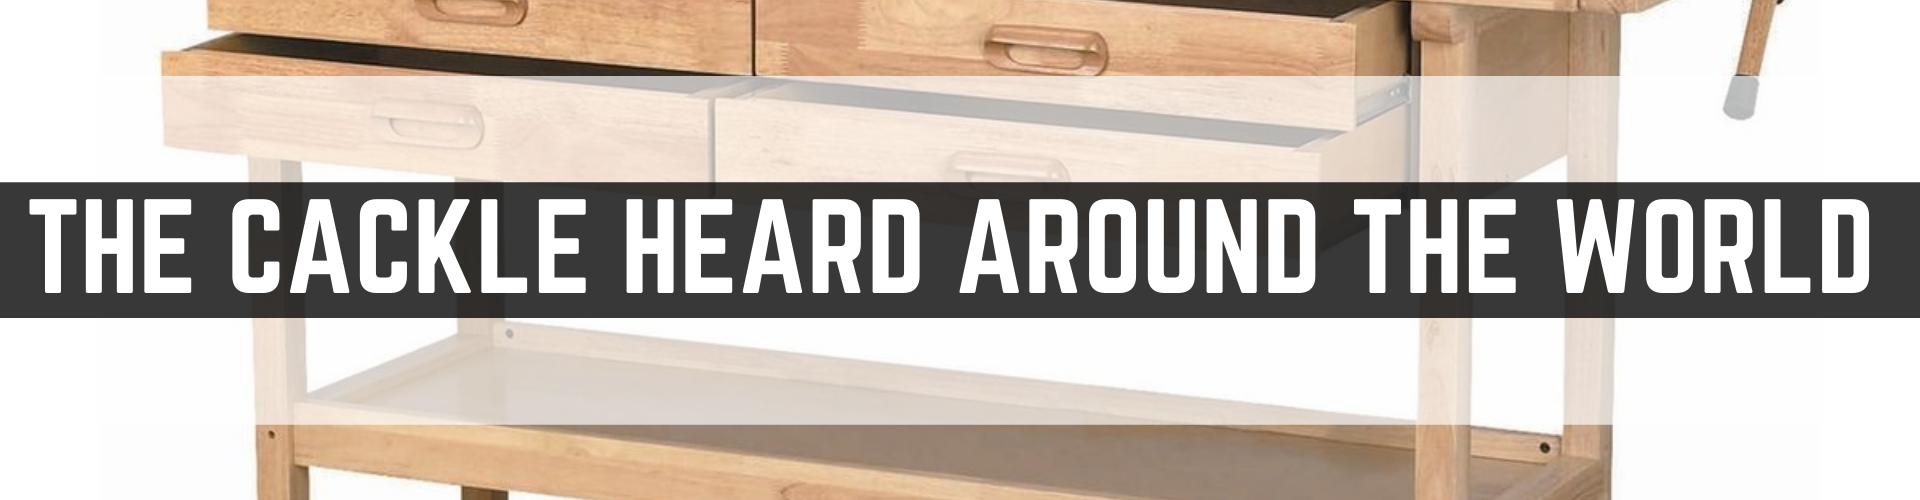 Once upon a time, Mr. Like purchased a work bench from Harbor Freight. He put it together in the dark basement. It was filmed almost entirely on a Samsung Galaxy S8+ wedged into the back of a chair. This was our very first "real" video other than our introduction. It is by far our most popular viewed video and those that stay to the end get a real funny surprise. This video is a combination Unboxing, Assembly and Review video for the Windsor Design woodworking bench that we purchased at Harbor Freight. WHAT TO EXPECT |
MORE INFORMATION ABOUT THIS BENCH |
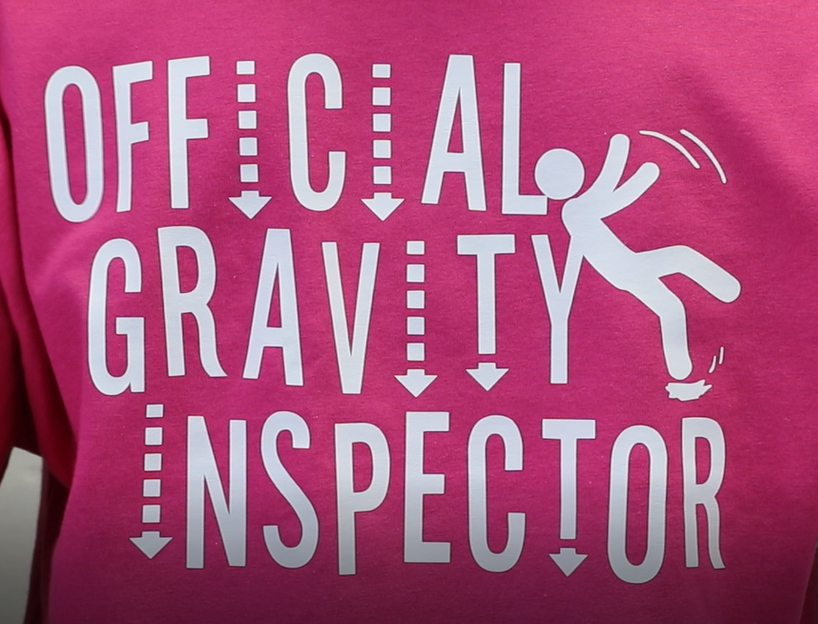
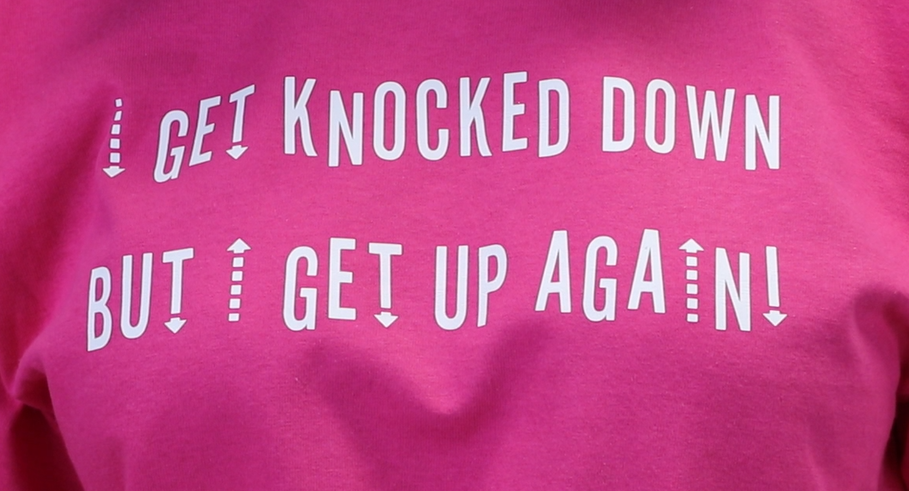
Many of our subscribers & commenters said their benches weren't like this one. We found out later when purchasing a second Harbor Freight Work Bench that Harbor Freight actually sells different models of this same bench (at the same time). We originally thought it was a redesign, but apparently they still build and sell multiple model numbers under the same name. We had hoped to do a comparison video between the two benches, but that was never accomplished and now that the two are no longer nearby it is unlikely that will happen anytime soon. However, we still hope we can at some point in time. Both of us like the bench as a basic bench, but for a serious woodworking bench it just isn't really that great. However, it is good enough to use for building your own bench since the surface is a good flat work surface. It's sufficient for the occasional weekend warrior projects. The price can vary, but we don't recommend paying full price because it goes on sale frequently. This is a good sized project bench in general and we do not regret the original purchase or the second bench. With that being said, there are a few issues with the drawers which can somewhat be solved with new rails. We put new rails on the first work bench and made them longer as well. Stay tuned for that to be a video of the week, but it's also on our channel. https://youtu.be/qT8i8cupAKE BEHIND THE SCENES INFORMATION (from Mrs. Like) We knew nothing about editing at this point other than how to slice together footage. Mr. Like edited this one 100% himself and the end scene was 100% unscripted. However, he knew that the workbench was in my craft area because he had moved it there himself for me to put my stuff on after we discussed purchasing a second bench. He told me that he was going to film an idea for a scene, but didn't tell me exactly what he was filming. I decided to cackle at my computer not even knowing that he had just said "what the" and couldn't believe it could actually be heard on the footage he filmed. It worked out better than he had intended. It was filmed almost entirely on a Samsung Galaxy S8+ wedged into the back of a chair so the sound & video quality isn't where it could be, but it's still one of our most popular videos. It was edited with Open Shot and everything was created using Open Shot. I didn't realize that we could use Canva for everything or how much I'd enjoy editing, but I'm glad he did this video because it would have been boring for me to do an unboxing, assembly and review video for a work bench if I'm being honest. NOTE FROM MR. LIKE IT | (a man of few words because he said I said it all already) It's a bench. It still holds my crap. It's still sturdy. It's still serving my needs. For the price, would buy again. 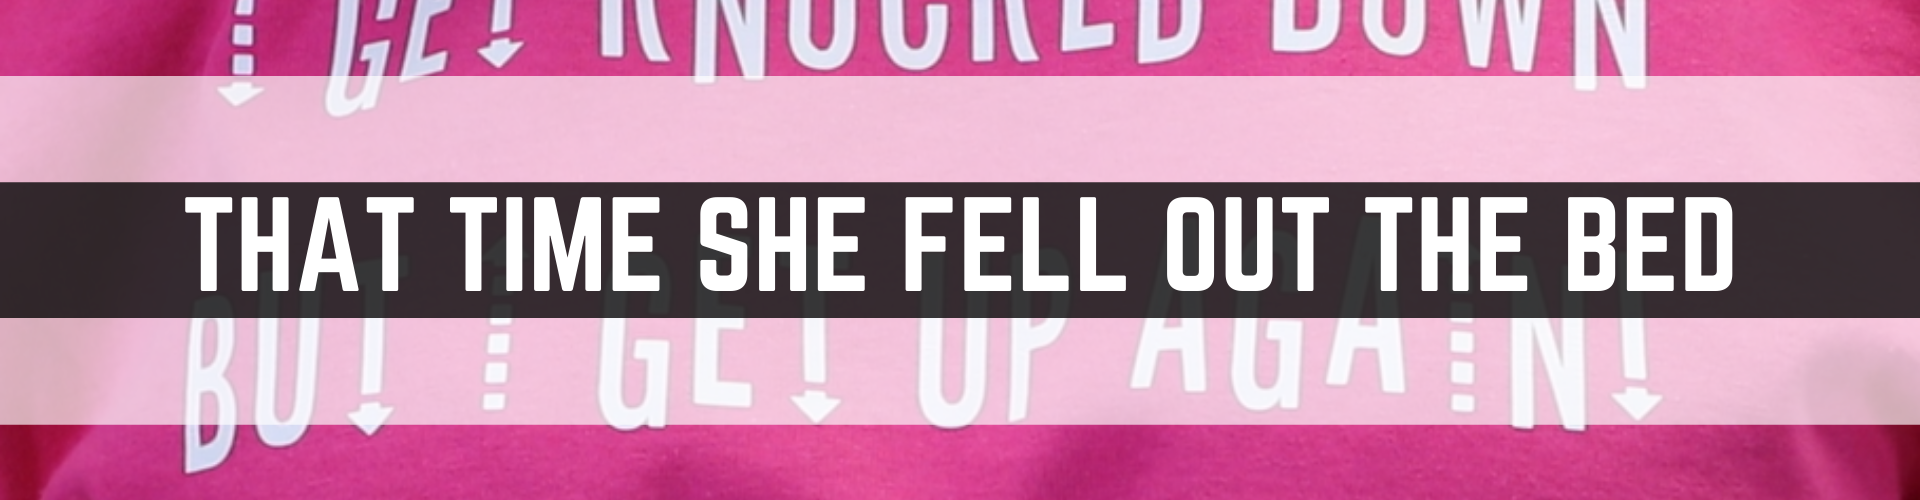 Favorite Video of the Week comes from the craft dungeon. Prior to moving the crafting area upstairs, Mrs. Like It Or Not had her craft space in the basement. This creation sprung out of two accidents from September 2019. This is the Official Gravity Inspector T-shirt. WHAT TO EXPECT |
INFORMATION ABOUT THE SHIRT | On the front the shirt reads, I get knocked down, but I get up again. On the back, it reads Official Gravity Inspector.
This shirt was made using the Cricut Maker and the Cricut Easy Press 2 (size 12x10). First thing that was needed was to design the shirt with Cricut Design Space. Then the Iron On Vinyl was chosen. For this design, Cricut Iron On White was used. Cricut Maker cuts the design (it's important to reverse your Iron On when doing an Iron On Shirt). A weeding tool (used one by Cricut) was used to remove the not important parts from the design. After figuring out shirt placement, it was time to figure out Easy Press temp. According to the temperature guide Cricut has for their Easy Press and the fabric, iron on vinyl, the temp for the Easy Press is 300F degrees. After pressing briefly the area the design would go, the design was carefully place onto the shirt. First time set was 30 seconds of light pressure and then 15 seconds on the back side of the shirt. The process was repeated for the phrase that went on the back of the shirt. An important step for us was to cover the design with a teflon sheet to protect the design and the Cricut Easy Press 2.
STORY TIME FROM Mrs. Like It | I slipped in the tub back on September 13, 2019. That fall was caught on camera because it was a segment I did on cleaning the oven racks. That video will be featured briefly on either the Home Page or the About page. Unfortunately that wasn't my only fall in September 2019. I took a bad tumble out of bed. I wish I had an interesting story about how that happened, but the truth is I was on the phone with my best friend in bed. I rolled over and unfortunately there was no bed left and I landed hard on my left side I realized laying there right away this was more than my normal clumsy fall. Mr. Like it came running as I said to my best friend, "OUCH, but I have got to go." He tried to get me up, but I wanted to check myself out for injuries before I suddenly got up. I told him to go ahead and get an ice pack for my calf because I knew I'd need one. After a short time, I called my best friend back to let him know I was living. However, I knew that we were discussing the ER. We discussed the pros and cons of the ER and decided it was better to go ahead and go since it was a Sunday and likely would get packed later. I'm glad I had my own ice pack because it kept my pain numb. The nurses were actually really helpful. I pressed the button one time and a nurse was there in less than a minute (needed to use the bathroom badly). Xrays confirmed no breaks from my hip down to my ankle. Strain & Muscle Contusion was the likely diagnosis. I never say yes to any pain medicine or muscle relaxers, but I said yes on this day. This has to land in my top two fall hurts. I had to use crutches and actually had to take the medicine more frequently than I thought. It was not fun. I decided I needed a shirt to wear in case I needed to leave the house with the crutches so people would realize that I was just a clutz. I made the shirt on September 25, 2019. It's one of my favorite shirts that I still wear a year later. I was back to moving around pretty normally on the day of October 3rd, but it apparently was too much because by left leg & right hip would spike up to a level 7 or 8 so I had to take Tylenol on October 4th to take the edge off. I think I was without pain though by October 5, 2019. PS: I am not a medication taker for pain so if it was so bad that I needed it I was gonna take it. BEHIND THE SCENES | We used a Canon 80D to film this video. We used Open Shot Editor for editing the film together. We used Canva to create the thumbnail, captions & cards within the video. This video actually wasn't put up on Our YouTube Channel until August 20, 2020 because it was difficult to look at the footage remembering how painful it was shortly after it happened. It worked out in our favor though because by the time it was edited together we had learned quite a bit about editing footage together for a video including how to crop a video and put an image behind it. This may have been the first video where Mrs. Like It discovered the effects for text and used mostly Canva for text. We uploaded the basic thumbnail without Mrs. Like It's image into TubeBuddy and then enhanced Mrs Like's image by Tube Buddy for a better thumbnail. 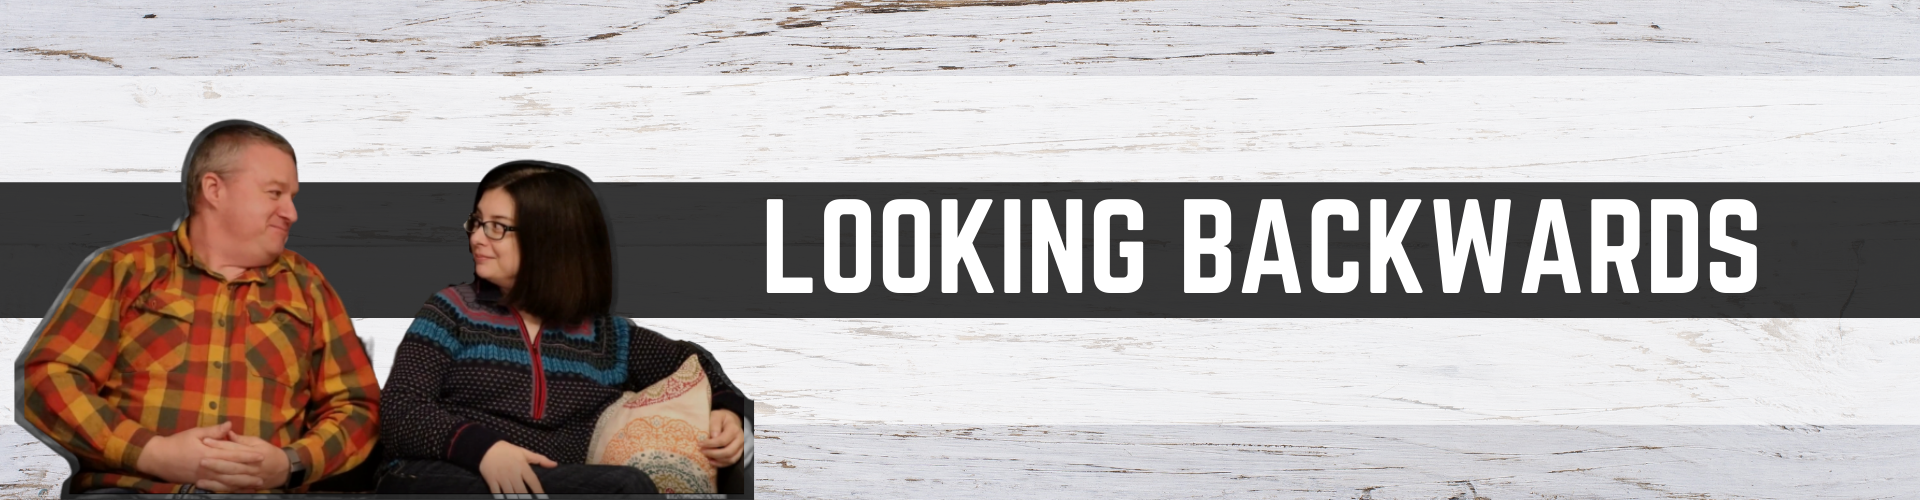 WHY DID WE DECIDE TO START YOUTUBE? We had no idea what we were getting into when we started YouTube. In fact, it was all Mr. Like It Or Not's idea. Mrs. Like It Or Not wasn't on board at all. However somewhere along the way, she became really invested in the editing process. It all changed for us when she started viewing the camera as a friend instead of a stranger invading our home. We decided to use this as a time to look back at our first video where we tell what we had planned for the channel. Boy were we somewhat wrong. We have learned a lot about music, captioning, editing, filming and so much more since our first videos. We have a variety of different videos and hope you see something you like. We decided to take a look back at our very first video to show why we started Like It Or Not. BEHIND THE SCENES| This was filmed on a Canon 80D. We did not use any special lightning. We were both uncomfortable which comes off in two different ways. This particular video used OBS for screen capturing the original video. We used Open Shot to edit. Some of the features we used in Open shot were Crop, Chroma Key (Green screen) and Animate. We used Canva for all of the non video things and a Maono AU 425 Plus microphone was used for the voice over. OTHER INFORMATION | We will be posting this as one of our more permanent features on the Home Page next week. Mrs. Like It Or Not still had her hair dyed every 8 weeks at a hair salon. Mr. Like It Or Not was telling her she didn't need it, but we both knew she'd decide in her own time (January 29, 2020 was her last official hair color encouraged mostly by the pandemic because the salons closed on the day she was scheduled for a color & cut. She gave her slot to someone else.). YouTube | You can find our original video on our YouTube Channel. It also shows how much we've learned about captioning since that very first video. We didn't know we could use Canva for YouTube at all and only used the captioning system in Open Shot which is basic. https://www.youtube.com/likeitornot 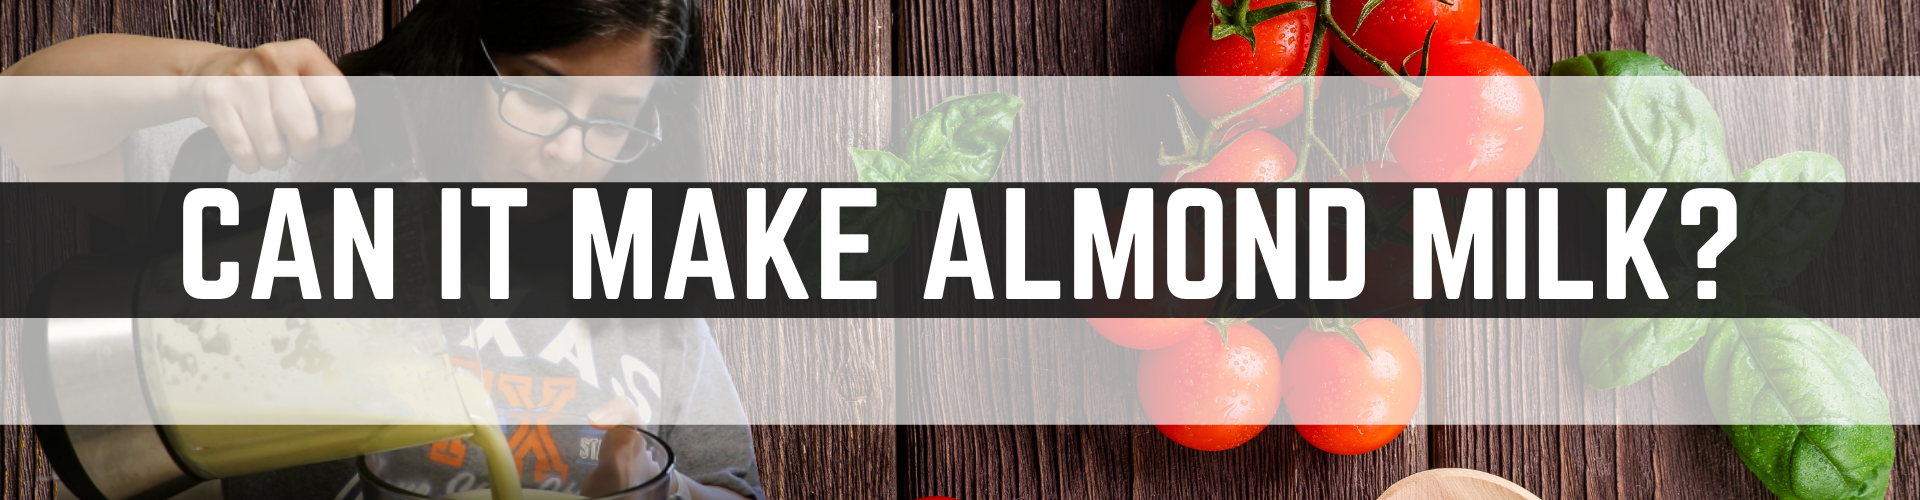 Making Almond Milk in the Ace Plus Blender by Instant Pot is one of our more popular videos which is why we're featuring it as our very first favorite video of the week. This was only the second thing I made with this blender as it was something I knew I needed to know that the machine could make as I made it frequently with the Ninja 1100 Blender. We give the Ace Plus Blender 4 thumbs up for how it handled Almond Milk. It even came with a cute little nut bag for straining the milk out of the almonds. WHAT TO EXPECT |
INGREDIENTS| Raw Almonds: 1 CUP of soaked almonds Filtered Water: 2 to 4 CUPS (plus water for soaking almonds) Salt (optional - a pinch) Honey (or your sweetener of choice, but it's optional) KEY COMPONENTS USED DURING VIDEO| Instant Pot (our model is DUO 80) Chef'n Sift'n Sieve Flour Sifter and Sieve Ace Plus Blender (Nut Milk Button) Nut Bag Bodum Kenya 8 Cup French Press Chrome Coffee Maker* Farberware Wide Canning Funnel Bowl, Parchment Paper & Baking Sheet (for failed almond pulp crackers) A coffee french press was attempted to use to separate the nut pulp from the "milk," but the blender did such a great job grinding up the almonds that it was impossible to use this method. Making Almond Milk| Put 1 cup of Almonds in your Instant Pot. Like it or not uses low pressure for not even a minute and then did a quick release. After the pressure was released, Mrs. LION rinsed off the almonds in a strainer and removed the skins. Removing the skins is a completely optional step. Next up is putting the Raw Almonds into the Ace Plus Blender with 2 cups of Filtered water. You can use as much or as little water as you would like, but we prefer starting with only 2 cups as it's less squeezing of the nut bag. Once pressing the Nut Oat Milk button, the Ace Plus Blender automatically knows when to blend and when to rest. Upon completion of the cycle, Mrs. LION tried a technique of pouring the blender mixture into a french press for separation. However, this technique failed. The Almond Pulp & Water were transferred to the nut bag that came with the blender (they can be purchased separately) and the liquid was squeezed out of the nut bag. Find a good container. We prefer Mason Jars. Put your pulp from the nut bag into the container because you can turn your pulp into flour. If you want your almond milk thinner (like we do), put the almond milk back into the blender and add your preference of water (we generally add 2 more cups of water). If you know you aren't going to be adding more water, the next step you will want to do during the first blending. At this point, it's time to add the optional salt (we just use a little bit) and a little squirt of honey. Many people add dates or other things such as vanilla to their almond milk, but we prefer almost as plain Jane as you can get. Pulse for an additional 30 seconds and it's ready to pour into a mason jar to go into the fridge. We try to use ours within a week's time for our cooking needs. BEHIND THE SCENES: We used a Canon 80D to film this video. We used Open Shot Editor for editing the film together. We used Canva to create the captions & cards within the video. We may have used Tube Buddy for the thumbnail along with Canva (can't remember since this was created back in June 2020). You can also find this on our Kitchen Page as of 10/1/2020 |
FAVORITE VIDEOS
Favorite video of the week brings a new favorite video every Thursday from our channel. We hope to include tidbits that you may not have seen on the video. Archives |

 RSS Feed
